Design and Development 6 - Texturing
- May 20, 2017
- 2 min read
Getting back into the swing of things is always troublesome in the beginning, designing, modeling, unwrapping and now texturing. This is the biggest project I have attempted in scale and detail. The massive canvas that is the ship was waiting to be painted on and I just didn't no where to start.


Starting with a multitude of base colours I landed on yellow for awhile. I didnt stick to it for very long but it did make me realize that blurring the ambient occlusion maps that I had baked earlier looked really nice if they had a little bit of blur applied to it to make it look less grainy.
After multiple dead ends and unhappy results I started to isolate and colour each part individually, this helped ease the overwhelming feeling of trying to texture a whole ship (and in the end turned out pretty good, I think)


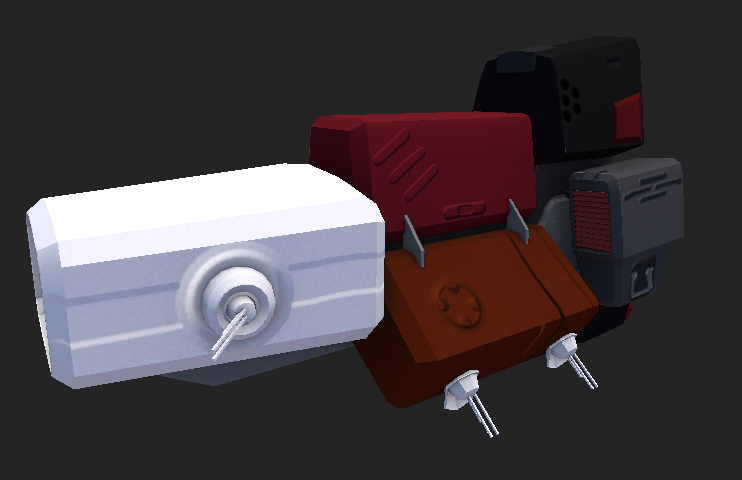

I ended up going for a colour pallet that was easy to create and manage. Starting with blacks and adding different colours where suited. I started looking at each piece that was painted onto the normal map and then painting some of those into the diffuse (colour) map to further define those areas (such as the metal on the thrusters and the light and dark paint on the base of the ship)
Moving on to the middle part of the ship red seemed like a suited colour. I stuck with the outlawish theme and slightly tinted each of the 3 containters different colours to add to give it imperfections.
Texturing consisted mainly of overlaying solid colours over the ambient occlusion map and setting the layer to multiply thus bringing out the underlying shadows and producing a nicely tinted colour


Experimenting with colour variations is always good to see what looks best. I think ill make each colour an official variant texture for residents to pick and choose from


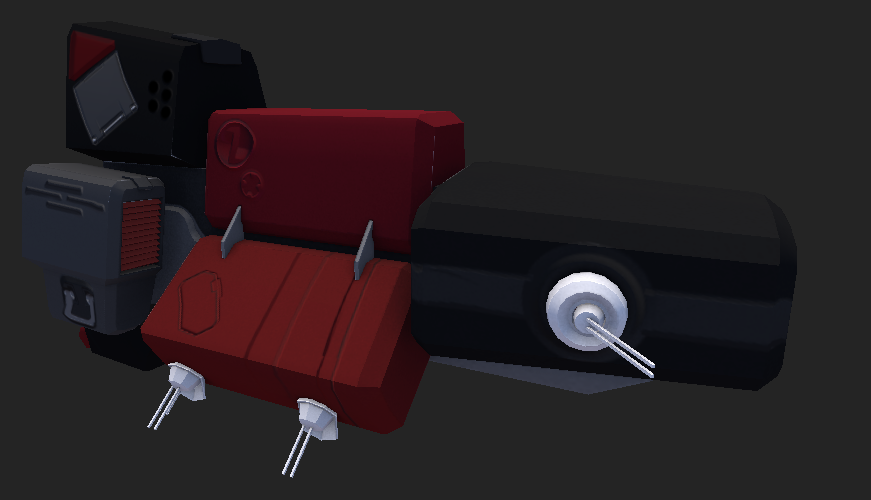
After finishing the diffuse map, a specular map was next on the list. This consisted of grabbing some random texture such as concrete and splatters, combining them with a heavily desaturated version of the current diffuse map with darkend levels and layering them on top

Specular maps adjust the lighting accross the model by calculating where light should reflect and where it shouldnt. As you can see below the specular map looks like a really bad grimy black and white texture, but it produces the results I need.

With the texturing complete with colour, normals and specular maps its time for fun in Second Life.
Comments